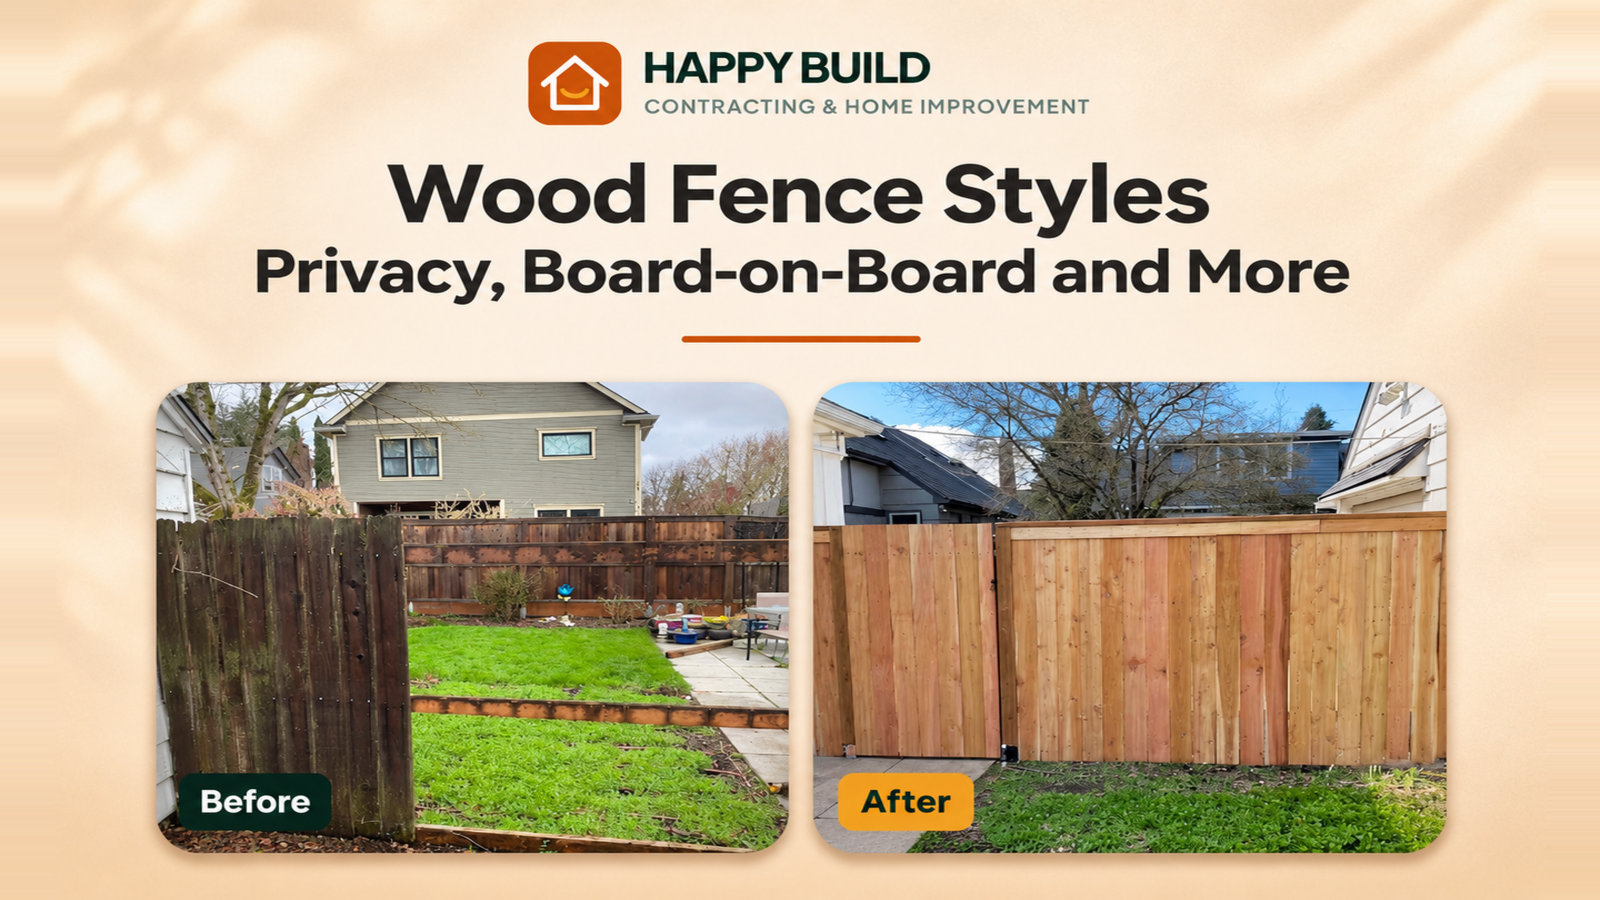
A fence along a busy sidewalk has a different job from one around a front garden. You might want to block the view from the street while keeping the yard open toward the house. Or you may like the fence you already have and only need to fix the leaning section by the gate. If you’re planning fencing and outdoor improvements in Portland or Vancouver, start by looking at each side of the yard separately. This guide compares common wood fence styles and explains how to choose boards, gates, and a layout that suit the way you use the space.
Compare the Most Common Wood Fence Styles
Fence terms sometimes overlap. “Privacy” describes what a fence does, while “board-on-board” describes how its boards are arranged. Ask for a photo or sketch of the proposed fence from both sides. That will tell you more about the finished appearance and the gaps between boards than a style name alone.
Standard Vertical Privacy Fence
A standard privacy fence usually has vertical boards fastened side by side to horizontal rails. It gives the yard a simple, continuous border and works well behind a patio or along a sidewalk. The rails are usually visible from one side, so decide which face you expect to see from the house and which will face the street or a neighbor.
Boards installed edge to edge may develop small gaps as the wood dries. How much those gaps matter depends on where the fence sits. A little daylight between boards may be fine along a back boundary. If the fence is meant to screen a seating area close to the sidewalk, look at an overlapping design before committing.
Board-on-Board Fence
Board-on-board fencing uses overlapping boards to cover the spaces between neighboring boards. The layered arrangement adds depth and helps keep sightlines closed as the boards dry, provided the overlap is sufficient. It often uses more material than a simple side-by-side layout, so compare estimates for the same height, length, and number of gates to see what the design adds to the project.
The finished look can vary based on how the boards and rails are assembled. If you want a similar appearance on each side, ask to see both faces of the proposed design. Happy Build’s cedar privacy and board-on-board fencing service also covers gate work and repairs, which is helpful if you want to build a new section while keeping a sound stretch of the existing fence.
Shadowbox Fence
A typical shadowbox fence alternates boards on opposite faces of the rails. It creates a repeating pattern on both sides and leaves paths for air to move through. From straight on, the boards can screen much of the view. From an angle, people may still see between them. Board spacing and overlap determine how noticeable that effect is.
Think about where people will actually stand. If the sidewalk approaches your backyard diagonally, ask to see a shadowbox example from an angle before choosing it for privacy. If the fence is mostly there to define a shared boundary and you like the appearance from both yards, that same design may suit the site well.
Open Picket Fence
A spaced picket fence marks the edge of a garden or front yard while leaving the landscaping visible. Simple square tops have a quieter look, while pointed or rounded profiles give the fence more character. The size of the gaps and clearance underneath matter if you need the fence to contain a pet. Check the gate opening and the low points along the yard too, since those gaps can differ from the spaces between pickets.
You can combine a picket fence at the front with privacy fencing farther back. Keeping the wood finish or post details consistent helps the two sections look related, even if they serve different purposes.
Match the Fence to the Shape of the Yard
Stand on the patio, at the back door, and near the places where people pass the property. Notice what you can see from each spot. If you sit on a raised deck or the neighboring yard sits higher, a fence that looks tall from ground level may provide less screening from the places that matter. Before settling on a height, confirm the boundary and check the rules that apply to your address, especially along the street or near a driveway.
Plan for Slopes and Ground Clearance
On a slope, a stepped fence keeps each section level and changes height at the posts. A fence built to follow the grade has a top line that rises or falls with the yard. Both can work. A stepped layout gives you a crisp series of horizontal sections, while following the slope may give you more consistent clearance below the boards.
Look closely at where the yard dips. A small gap beneath one panel may be harmless, but a larger opening near a gate may matter if you have a dog. Ask how the installer plans to handle that area while keeping the boards clear of soil. If the ground changes noticeably after rain or collects water, include a photo taken in wet weather.
Decide Where You Need Privacy Most
You may only need full screening along one boundary or beside a seating area. An open section can keep the view toward a garden or let you see the walkway from the front window. Walk the proposed line with your contractor and point out those differences before you settle on one style for the whole yard.
Consider what you’ll see from inside the house too. A tall, solid section right outside a kitchen window feels different from the same fence at the far edge of a lawn. If two styles meet, ask how the transition will look at the corner or gate. A shared post detail or consistent stain can tie the sections together.
Design the Gate Around What Goes Through It
Start with the largest thing you regularly move through the gate. A person with a grocery bag needs much less room than a wheelbarrow, mower, or pair of trash bins. Ask for the clear opening between the posts with the gate open. That usable width may be different from the measurement used to describe the gate itself.
Check the swing before you choose the location. An inward-swinging gate may catch on rising ground or bump a planter. An outward swing can take up space on a path. In a narrow side yard, consider whether there’s room to stand and unlatch it while moving a bin. Talk about hinge placement, latch access, and how the gate will line up with the fence. If your current gate drags, mention whether the post leans or the latch has gradually slipped out of alignment.
Consider How the Fence Will Handle Wet Weather
Pay attention to the lowest boards, post bases, and places where leaves pile up. Those spots are easy to miss from the patio. Soil or mulch piled against the boards can keep the wood damp. Check whether sprinklers regularly wet the fence and whether water collects at the base after a storm. Share what you’ve seen so the installer can account for the conditions when planning the work.
If pooling occurs along the fence and near the house, describe both locations when you ask about drainage. For dampness beneath the house, Happy Build’s guide to signs your crawlspace may need a vapor barrier covers what to look for and why water sources should be investigated first.
Cedar will change color as it weathers. If you want to preserve a particular look, ask when the boards will be ready for stain or sealer and what maintenance the chosen finish calls for. A shaded stretch behind shrubs may weather differently from an exposed gate. Leave enough space around the fence to inspect it and maintain the side that’s easiest to overlook.
Decide Whether to Repair or Replace the Existing Fence
One leaning section can make the whole fence look worn even when much of it is sound. If the damage is concentrated around a post, rail, or gate, ask whether those pieces can be replaced separately. Photos of the entire run and close-ups of the affected parts help the contractor see whether the problem is isolated or repeats along the line.
Replacement may make more sense if several posts move, the rails are deteriorating, or the current layout no longer works for your yard. You can also ask about replacing one run first. If you expect to tackle the rest later, agree on board width, height, finish, and gate details now so future sections fit together.
What to Include in a Wood Fence Estimate Request
Share the approximate length and desired height of each run, plus photos of corners, slopes, and gate locations. If you’re comparing styles, describe how much privacy you want and which side of the fence you’ll see most often. Mention any old sections that need removal or areas you hope to keep. A quick sketch is enough to show where the fence changes direction and where you’d like the gate.
For wood fence installation or repair in Vancouver, WA, send Happy Build your ZIP code and a few details about the project. A note like “replace the fence beside the patio, keep the back run, and widen the side gate for bins” gives the team enough context to discuss your options and what to check at the property.
By Happy Build · Published Oct 30, 2026